Home

Thursday, March 15, 2012

How To-Balloon banner

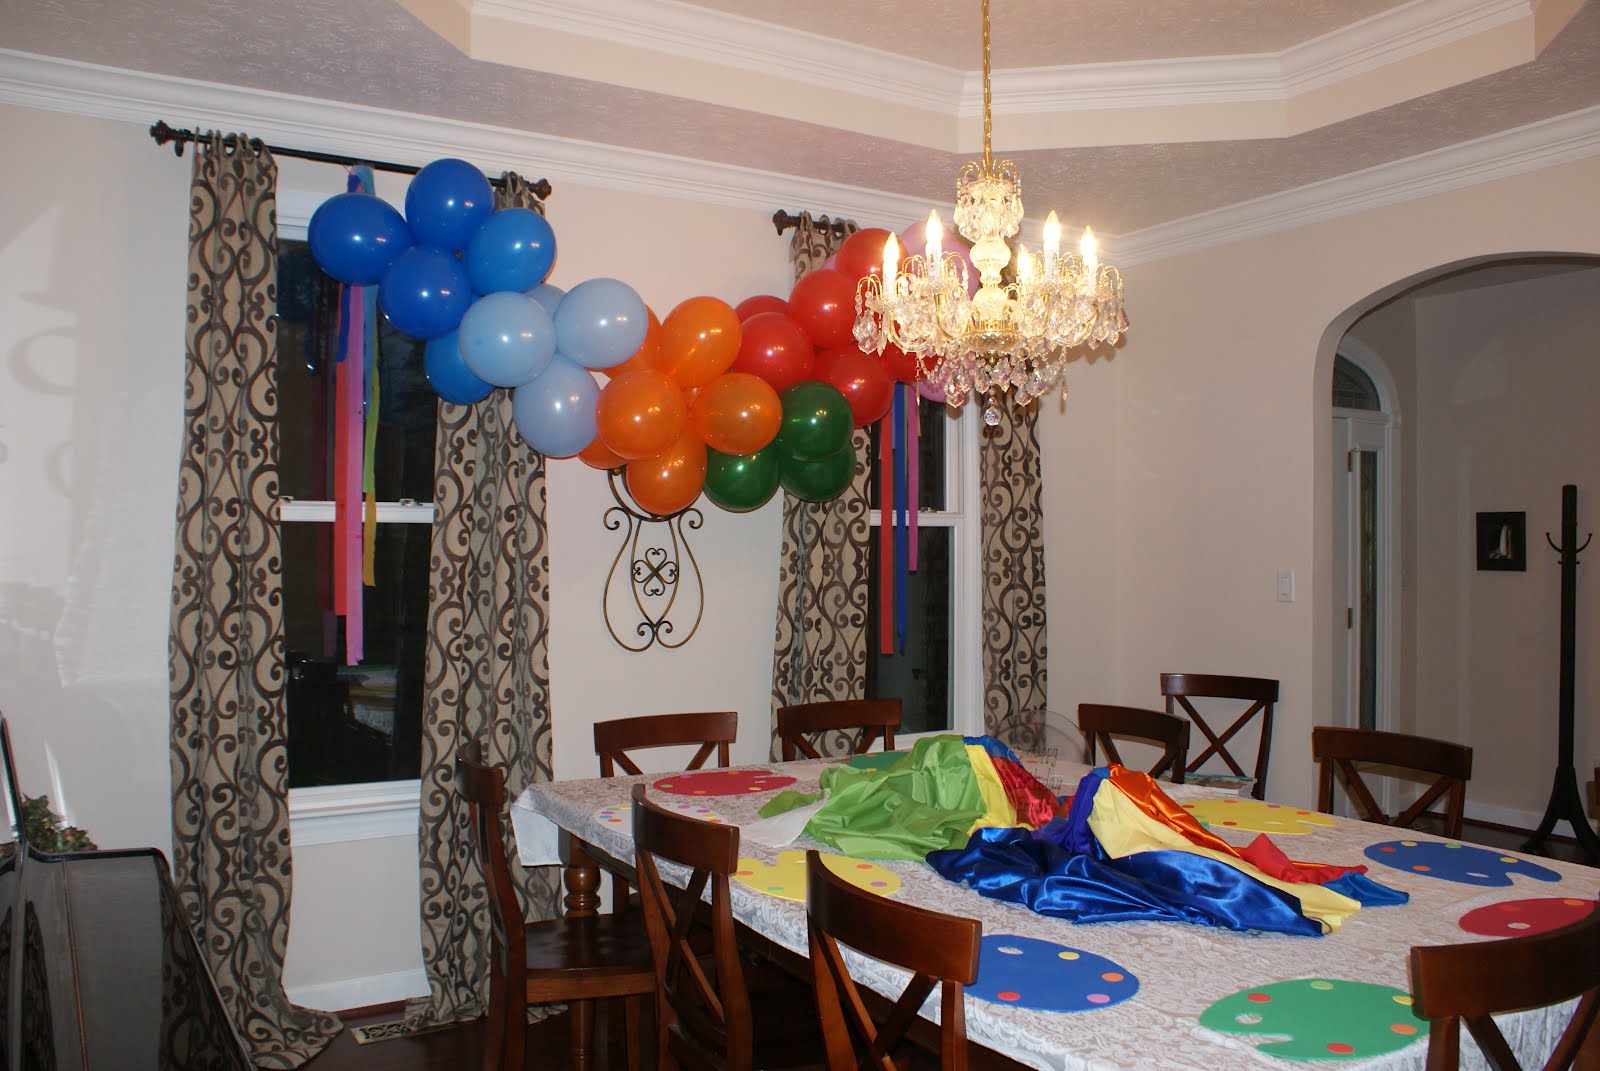
I promised that I would do a tutorial on how to complete a balloon banner. Well here goes! Here are the balloon banners that I made. This adds punch to any party at a really small price! You can do any colors! It just takes a little time and hot air! ha!


I was inspired to make a balloon arch from this website. I think that she did a fabulous job! So, I have included both the link and I have also included her instructions on my website. Again, these are not my instructions...but I did follow them to get my balloon banners. So, they are tried and true! Why mess with perfection, right?


1) Start by grouping balloons in to groups of 4. We used rainbow colors, but using all the same color, or lots of different shades of blue would be neat too.

balloon banner DIY

2) Blow up each set of 4 balloons and tie the ends. No need for helium, your own lungs should do the trick. Do your best to get the balloons fairly equal in size.
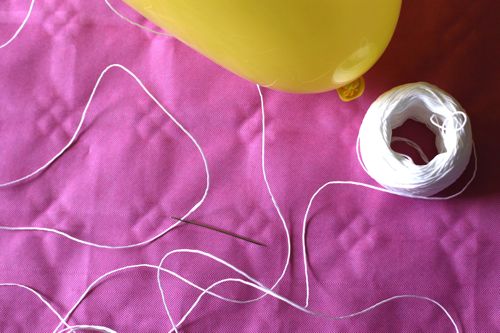
3) Thread some good twine (I used a waxed kitchen twine) on a big needle — upholstery size is perfect. Technically, a small needle would work too, you just need the eye to be big enough to pass the twine through. (From TAB-I used a doll needle in the sewing section and this made it really easy. I also just used embroidery thread because it is all that I had.)
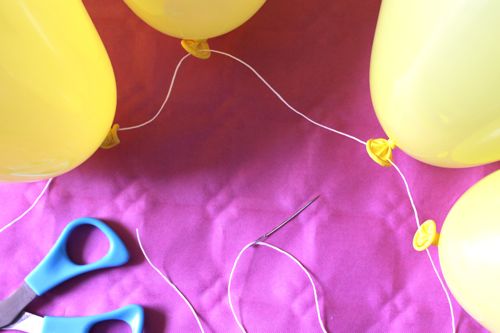
balloon banner DIYballoon banner DIY

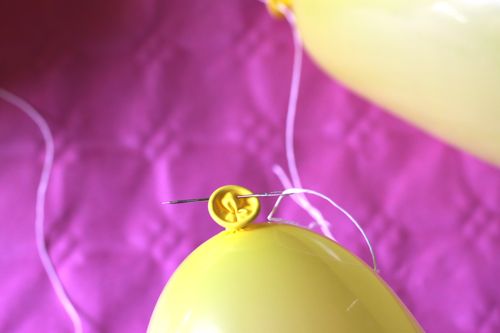
4) Pass the needle through the tail of all 4 balloons in your set. Be careful — needles are known for popping balloons. : )
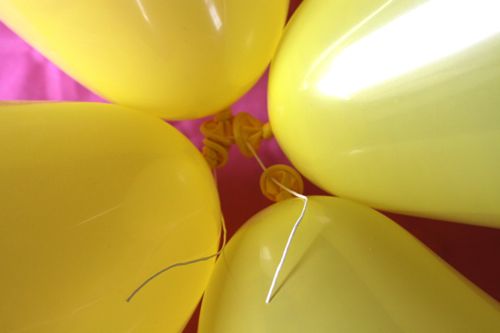
balloon banner DIY

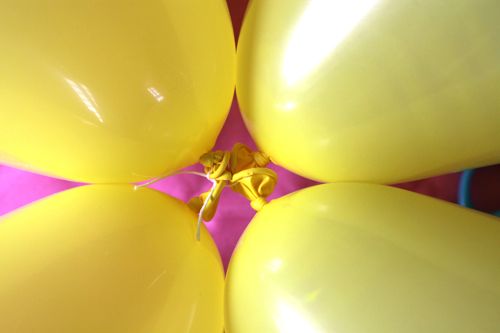
5) Slide the balloons to the end of the string and trim off threaded needle and remaining length (you’ll use them to thread the next set of balloons). Leave a 2 or 3 inch tail on either side of the 4 threaded balloons.
balloon banner DIY

6) Cinch the four balloons together and use a square knot (right over left, left over right) to keep them nice and tight.
balloon banner DIY

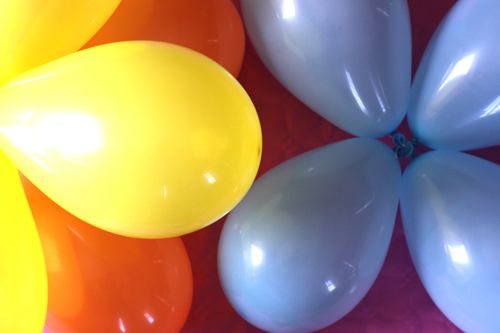
7) Do the same thing for all your sets of 4. For our banner, we made 18 sets of 4. Three sets of 6 colors.
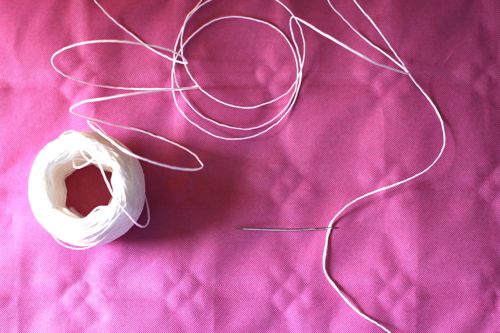
balloon banner DIY

8) When you have all your sets made, thread the needle again, but don’t trim the thread from the spool.
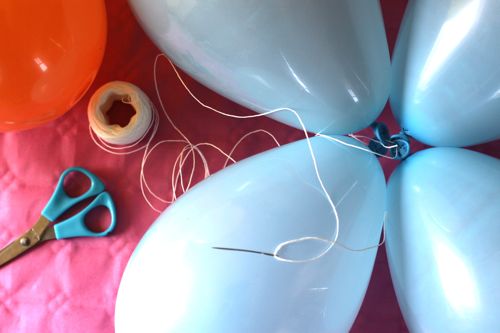
balloon banner DIY

9) Pass the needle through the center of a balloon set. Use the point to go through at least of couple of the balloon ends so that the set is secure on the twine.
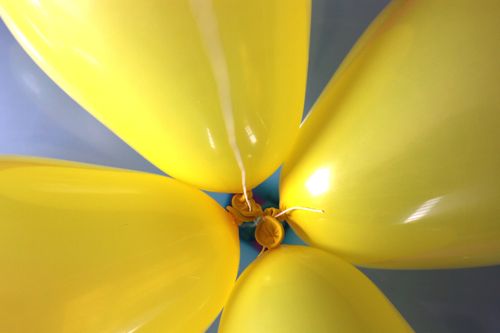
balloon banner DIY

10) Use the needle to add another balloon set, push each set along the twine at intervals of 5 or 6 inches. If you’re going for the same rainbow look we used, you’ll thread all the red sets first, then all the orange sets, then all the yellow sets, etc.
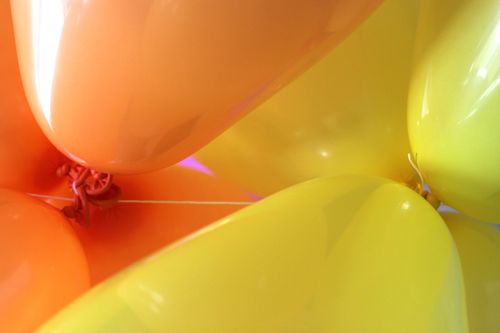
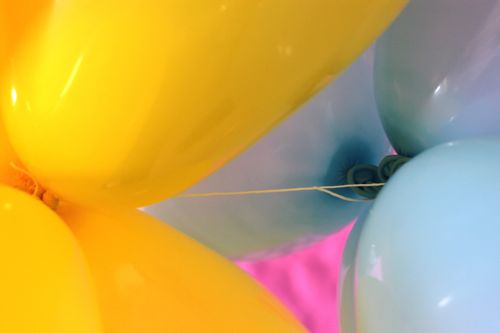
balloon banner DIY

11) Keep adding sets with the needle and sliding them along the twine till you’ve completed your banner. Leave a long tail of twine on either side of the balloons so that you can tie the banner to a wall or arch or window. Then cut the twine from the spool.

The banner is so light that it’s easy to hang. We used push pins in the wall and then wrapped the twine around the push pins.
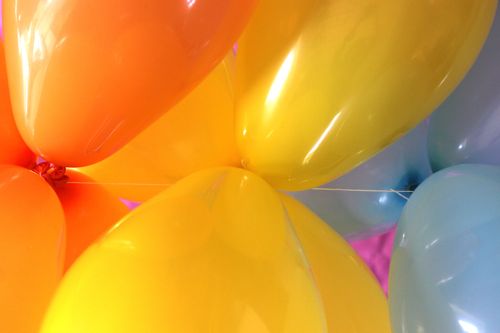
balloon banner DIY


If you give it a try, please send pics! I would love to see!

Monday, March 12, 2012

Arty Party

Emma had a slumber party with her friends from school. Wow! Nine year old girls are loud! We decided to do an art party. It was supposed to be pretty simple, but I had to add alittle extra spice. With the help of the lovely world wide web the problem these days isn't trying to come up with ideas for a party but rather it is having too many options. I tried to narrow them down to a few key special things. I will take some time in future blogs to show you how I did some of these things. Take a look:

To go with the theme, we crafted our own cakes. We made cakes in a jar. They actually turned out quite beautiful. The girls loved it and I think that because they made it, they enjoyed it even more!
I asked a friend in my Community Group to help with the party as well. Her name is Holly Conjolly--not really, but that is what my kids call her. Her name is Holly Conradi and she did an amazing job. I told her she should go into business! The kids each had a canvas and she taught them to paint a Monet-ish type painting. They all turned out so beautiful in their own way!
This is Holly with her teacher voice on!

This was Taylor hanging with the big girls(these are fake glasses by the way)!

How gorgeous are these! They are absolutely amazing. I love, love, love the color!

Here is the first of two balloon arches that I made.

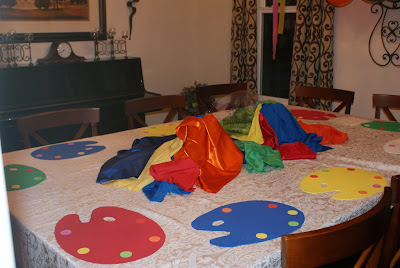
Here are the paint palette placemats (say that 3 times fast!). They turned out really cute and they made a great impact on the white tablecloth. This one is alittle jagged because Taylor helped me cut them out when she was home "sick" (yeah right), but I think she did a fabulous job!

Here is the table all together. I just have random yards of colored fabric in my garage. They can be used for so many things! Here, I stuffed the fabric in a vase and spread out the fabric. It turned out really cute...and cheap!
I bought this clear palette as part of the centerpiece for this table at AC Moore for $5. The next morning, I had Emma's friends sign the palette as a memory.

Here is the other balloon arch that I made. I hung the streamers behind them and they turned out great. I really wanted to try a different look that I found online, but I just couldn't put it together in time.

One of my last minute finds were these oversized crayon banks at the Dollar Tree. They added such a statement to this food table. I wish I would have seen these earlier because I would have been much more strategic in their placement. I also now have 2 picture frames to use as decoration at any party and they always make for great pictures when people pose with them.


These super sweet girls woke up at 5:00 in the morning! So, we practically had another party when they woke up. We did a marble craft and a bubble craft. I was so excited when I found these crafts online and I just had to try them. I will definitely show you how to make these soon! Then the girls did a scavenger hunt and soon after they all went home. Whew. I need a nap just retelling this party!