
 I was inspired to make a balloon arch from this website. I think that she did a fabulous job! So, I have included both the link and I have also included her instructions on my website. Again, these are not my instructions...but I did follow them to get my balloon banners. So, they are tried and true! Why mess with perfection, right?
1) Start by grouping balloons in to groups of 4. We used rainbow colors, but using all the same color, or lots of different shades of blue would be neat too.
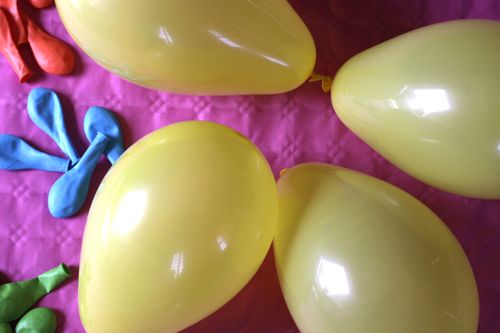
2) Blow up each set of 4 balloons and tie the ends. No need for helium, your own lungs should do the trick. Do your best to get the balloons fairly equal in size.
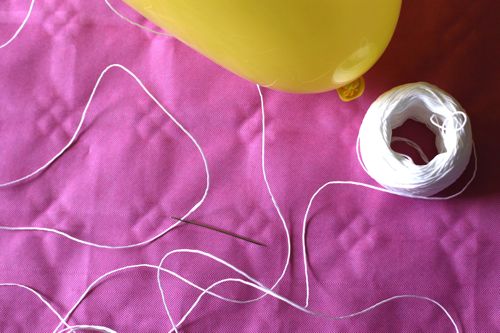
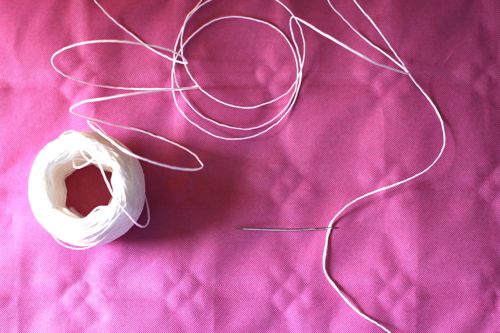
3) Thread some good twine (I used a waxed kitchen twine) on a big needle — upholstery size is perfect. Technically, a small needle would work too, you just need the eye to be big enough to pass the twine through. (From TAB-I used a doll needle in the sewing section and this made it really easy. I also just used embroidery thread because it is all that I had.)
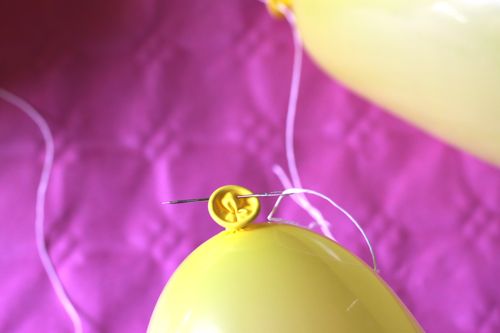
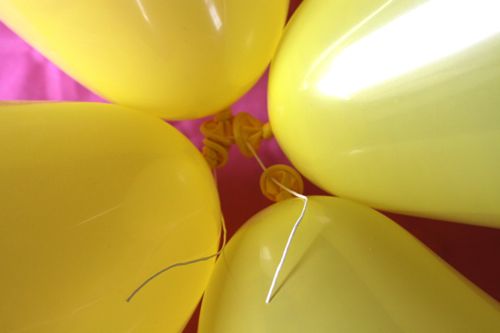
4) Pass the needle through the tail of all 4 balloons in your set. Be careful — needles are known for popping balloons. : )
5) Slide the balloons to the end of the string and trim off threaded needle and remaining length (you’ll use them to thread the next set of balloons). Leave a 2 or 3 inch tail on either side of the 4 threaded balloons.
6) Cinch the four balloons together and use a square knot (right over left, left over right) to keep them nice and tight.
7) Do the same thing for all your sets of 4. For our banner, we made 18 sets of 4. Three sets of 6 colors.
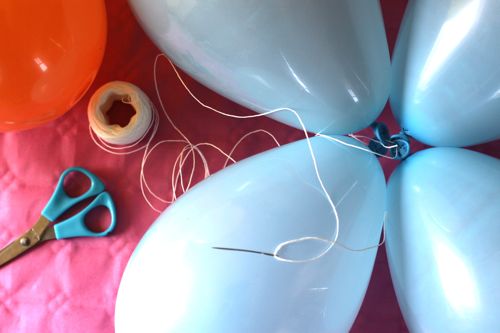
8) When you have all your sets made, thread the needle again, but don’t trim the thread from the spool.
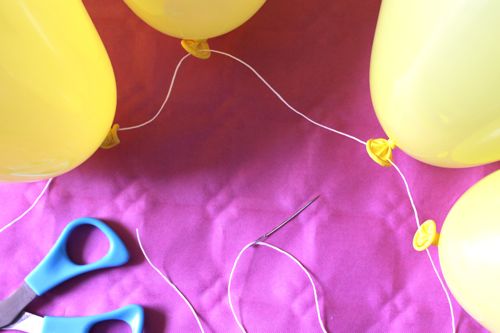
9) Pass the needle through the center of a balloon set. Use the point to go through at least of couple of the balloon ends so that the set is secure on the twine.
10) Use the needle to add another balloon set, push each set along the twine at intervals of 5 or 6 inches. If you’re going for the same rainbow look we used, you’ll thread all the red sets first, then all the orange sets, then all the yellow sets, etc.
11) Keep adding sets with the needle and sliding them along the twine till you’ve completed your banner. Leave a long tail of twine on either side of the balloons so that you can tie the banner to a wall or arch or window. Then cut the twine from the spool.
The banner is so light that it’s easy to hang. We used push pins in the wall and then wrapped the twine around the push pins.






No comments:
Post a Comment